Draft — being checked against the app
The practice setup wizard
The steps the setup wizard walks a new practice through, and how to come back to it.
AdministratorsPractice managersLast updated
When your practice is first set up in Clarirad, the person setting it up sees the setup wizard. It collects the basics for the practice as a whole. Rooms, services and prices are set up for each site in that site's own setup wizard (see Imaging sites, rooms and trading hours).
The steps
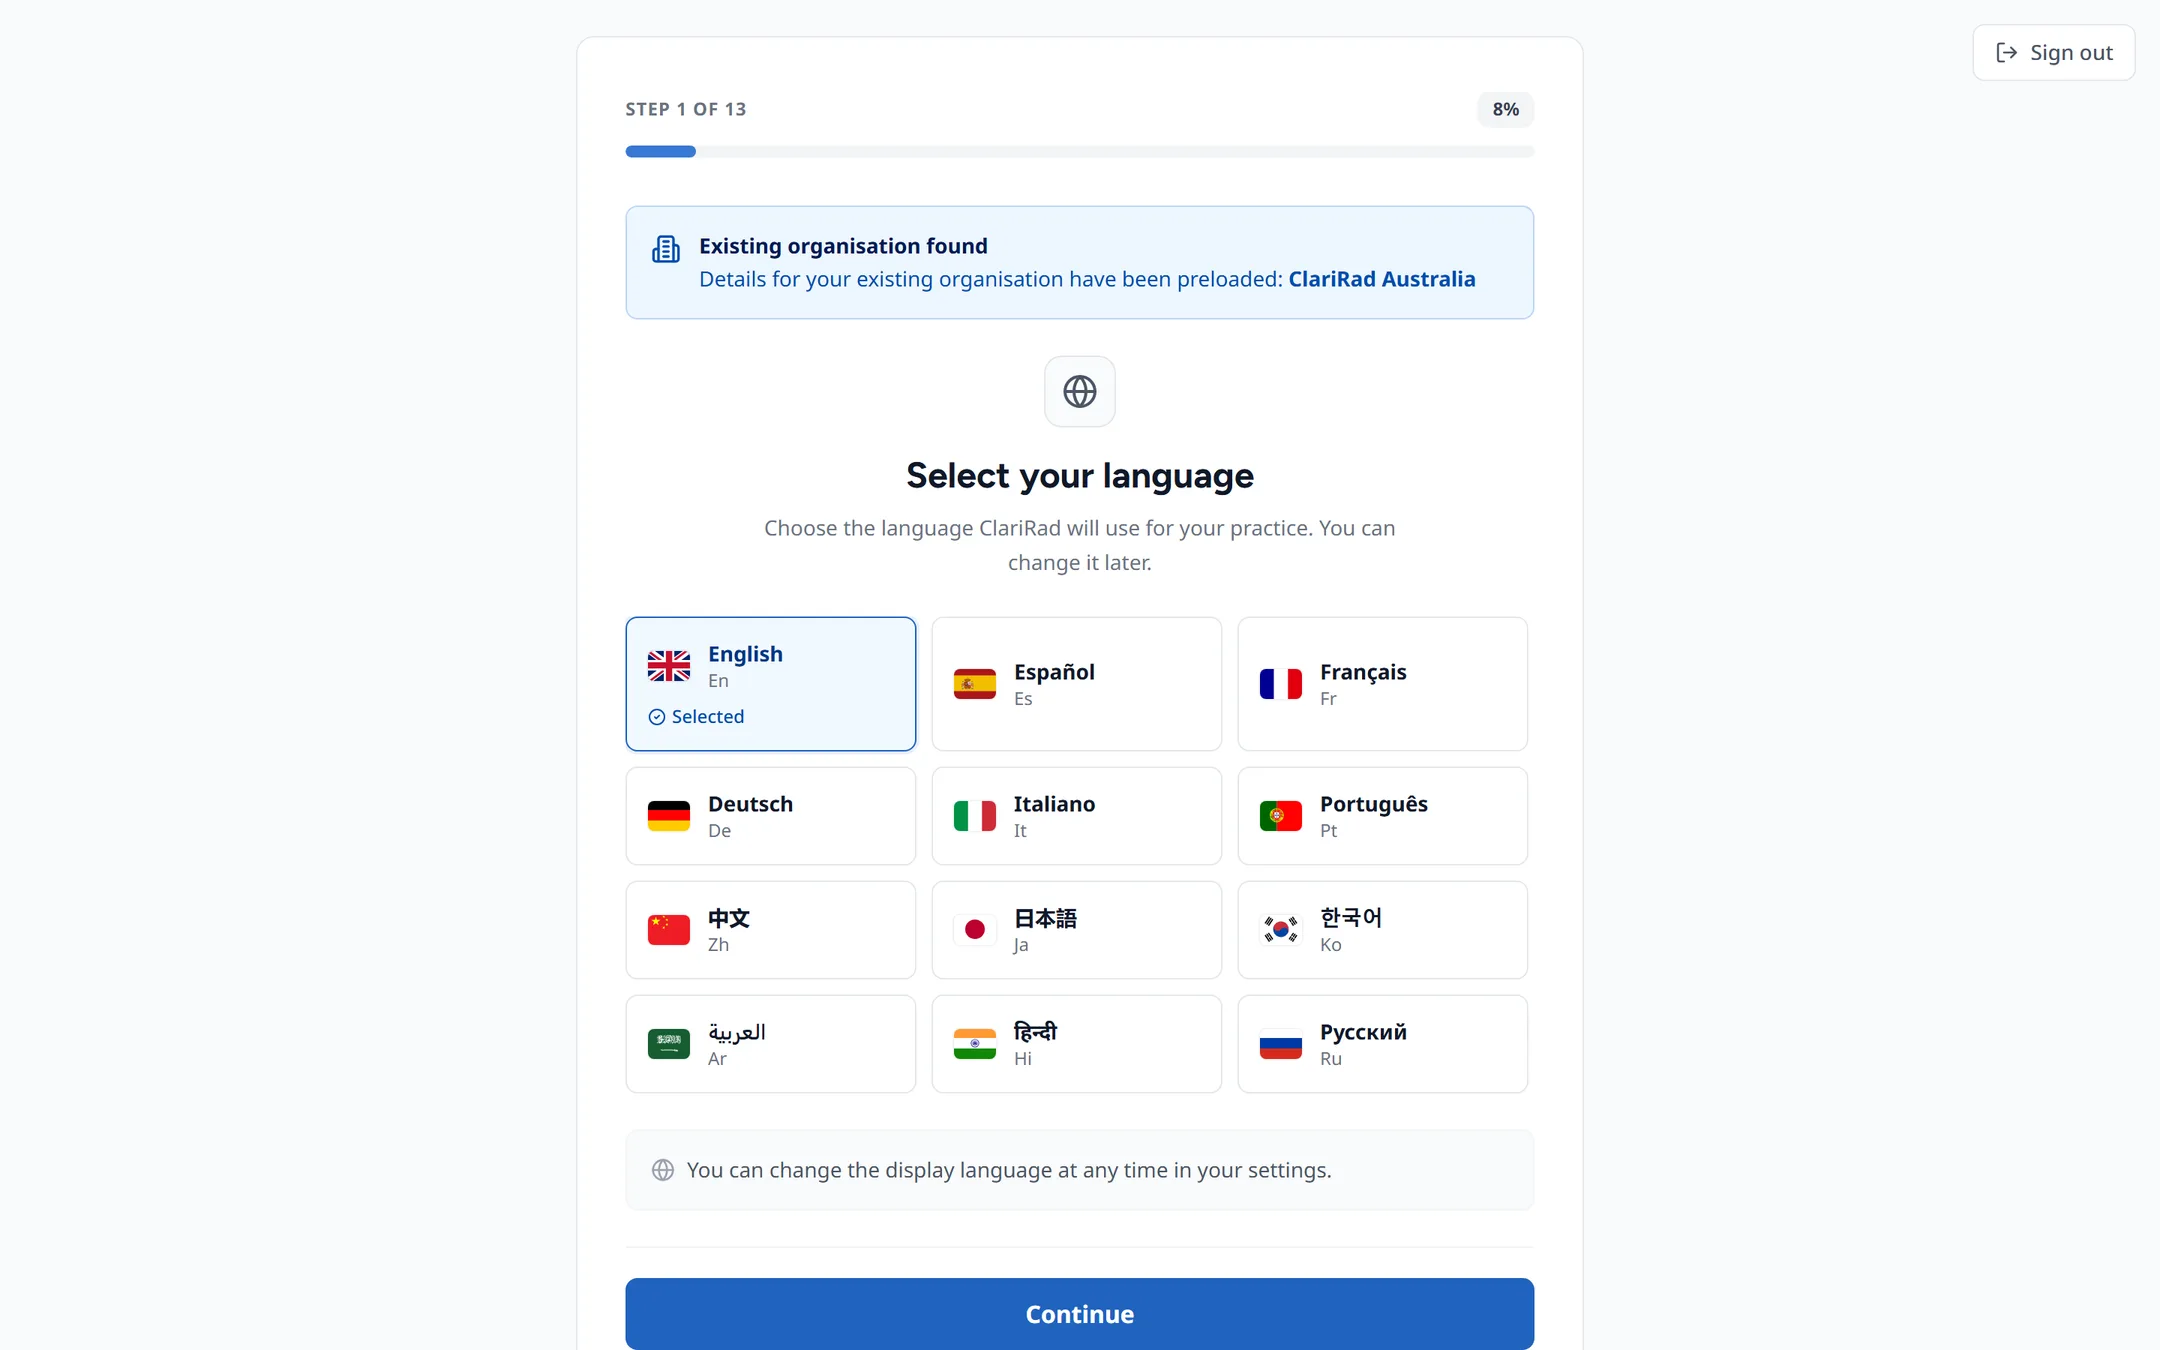
- Select your language.
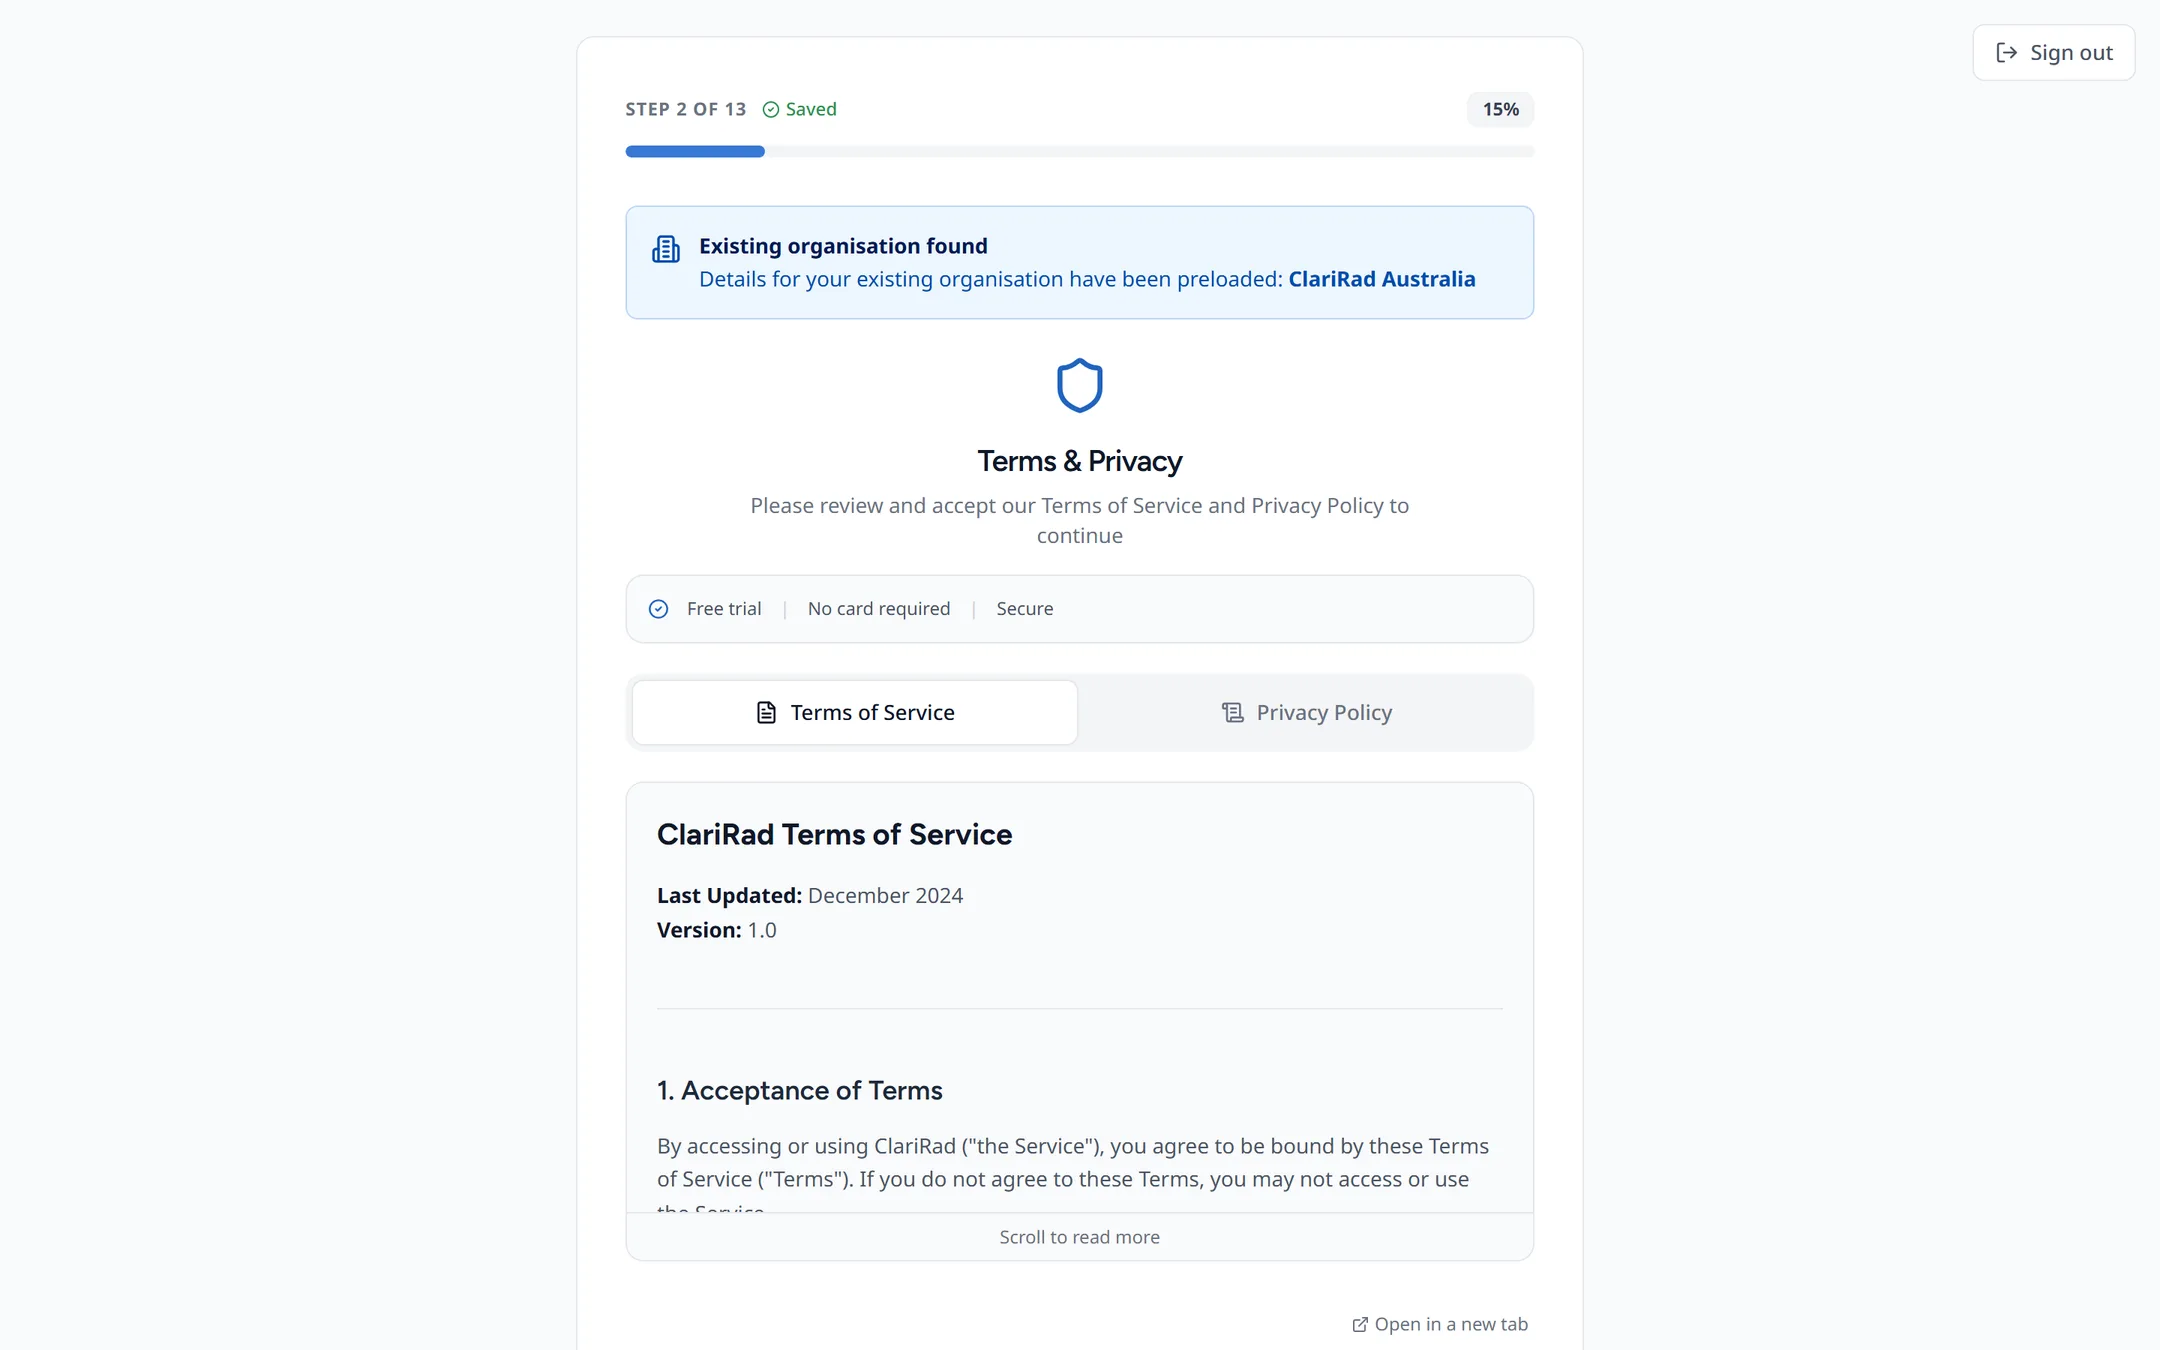
- Accept the terms of use.
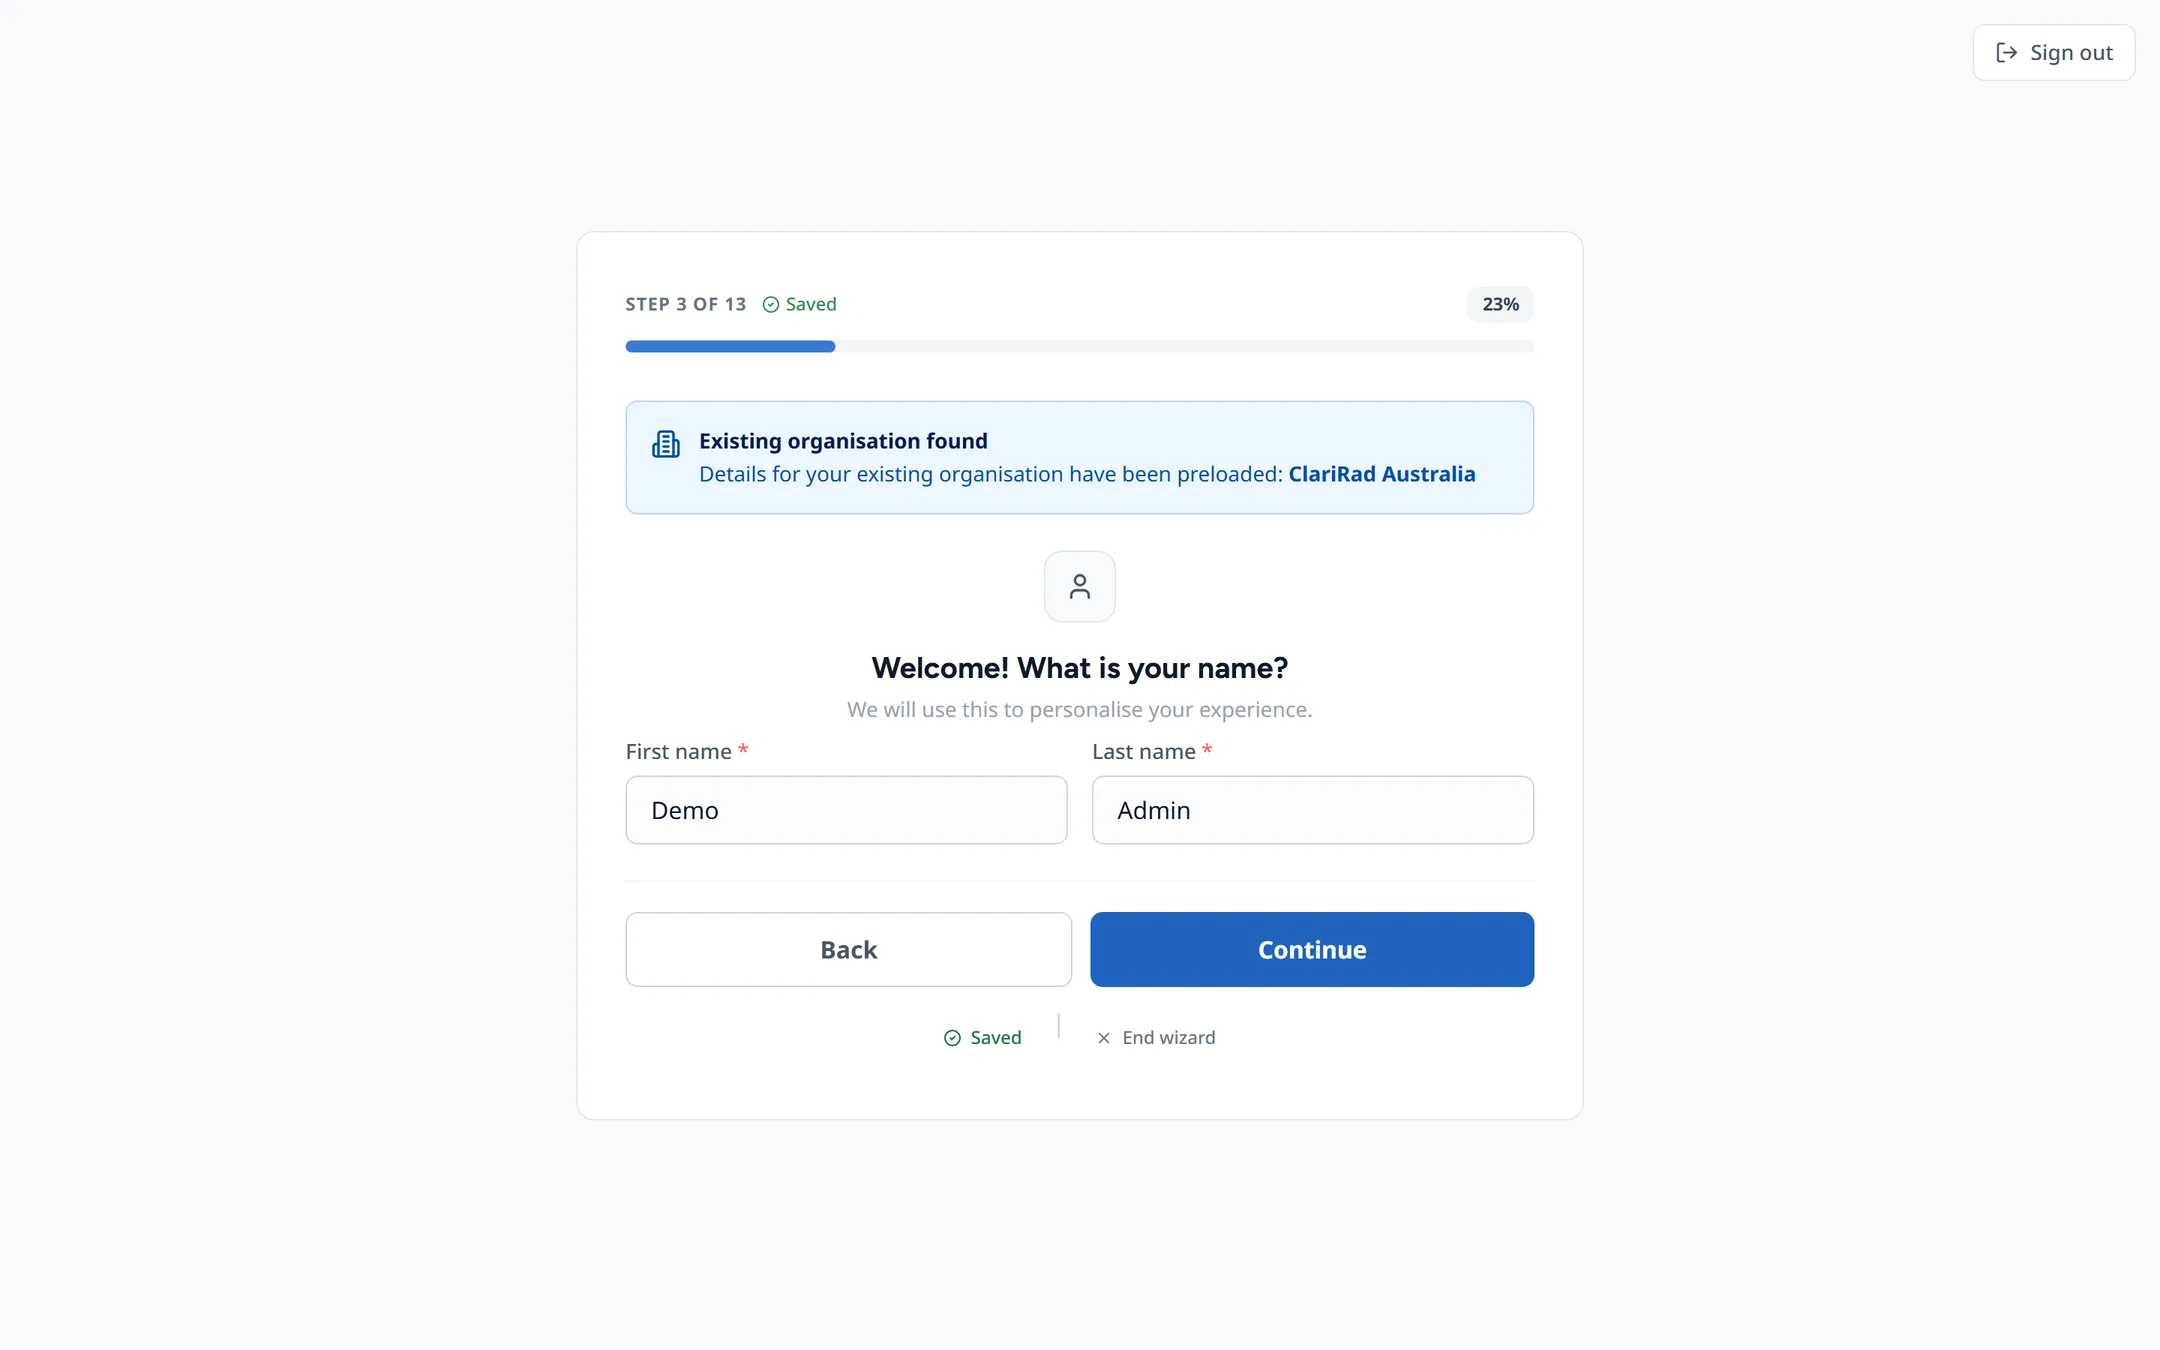
- Your name.
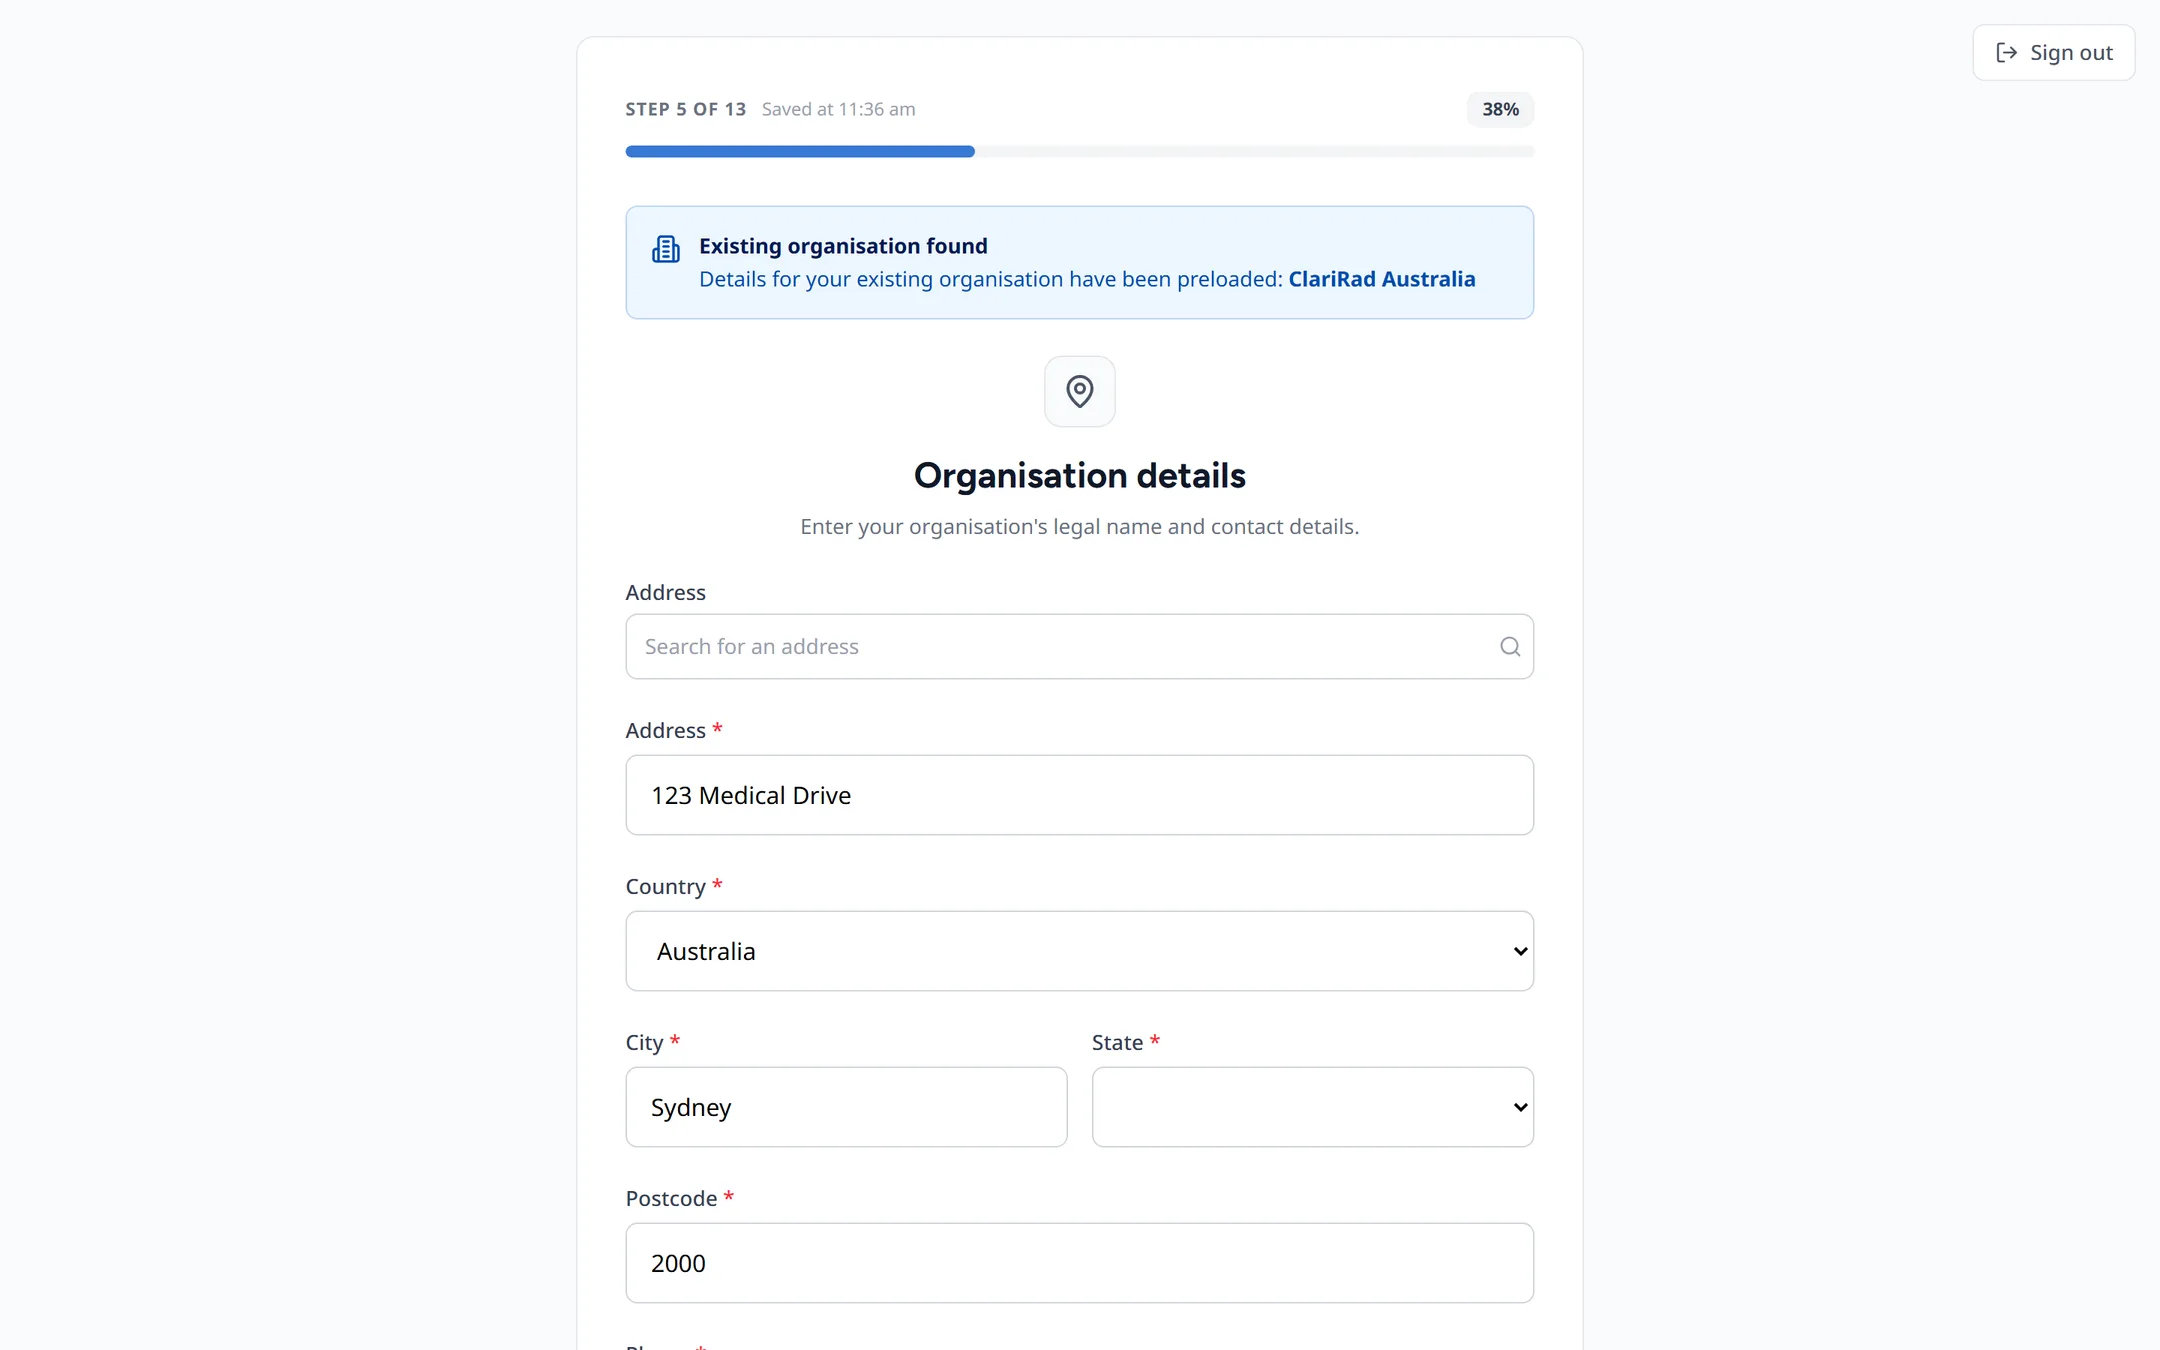
- Your organisation's name and details.
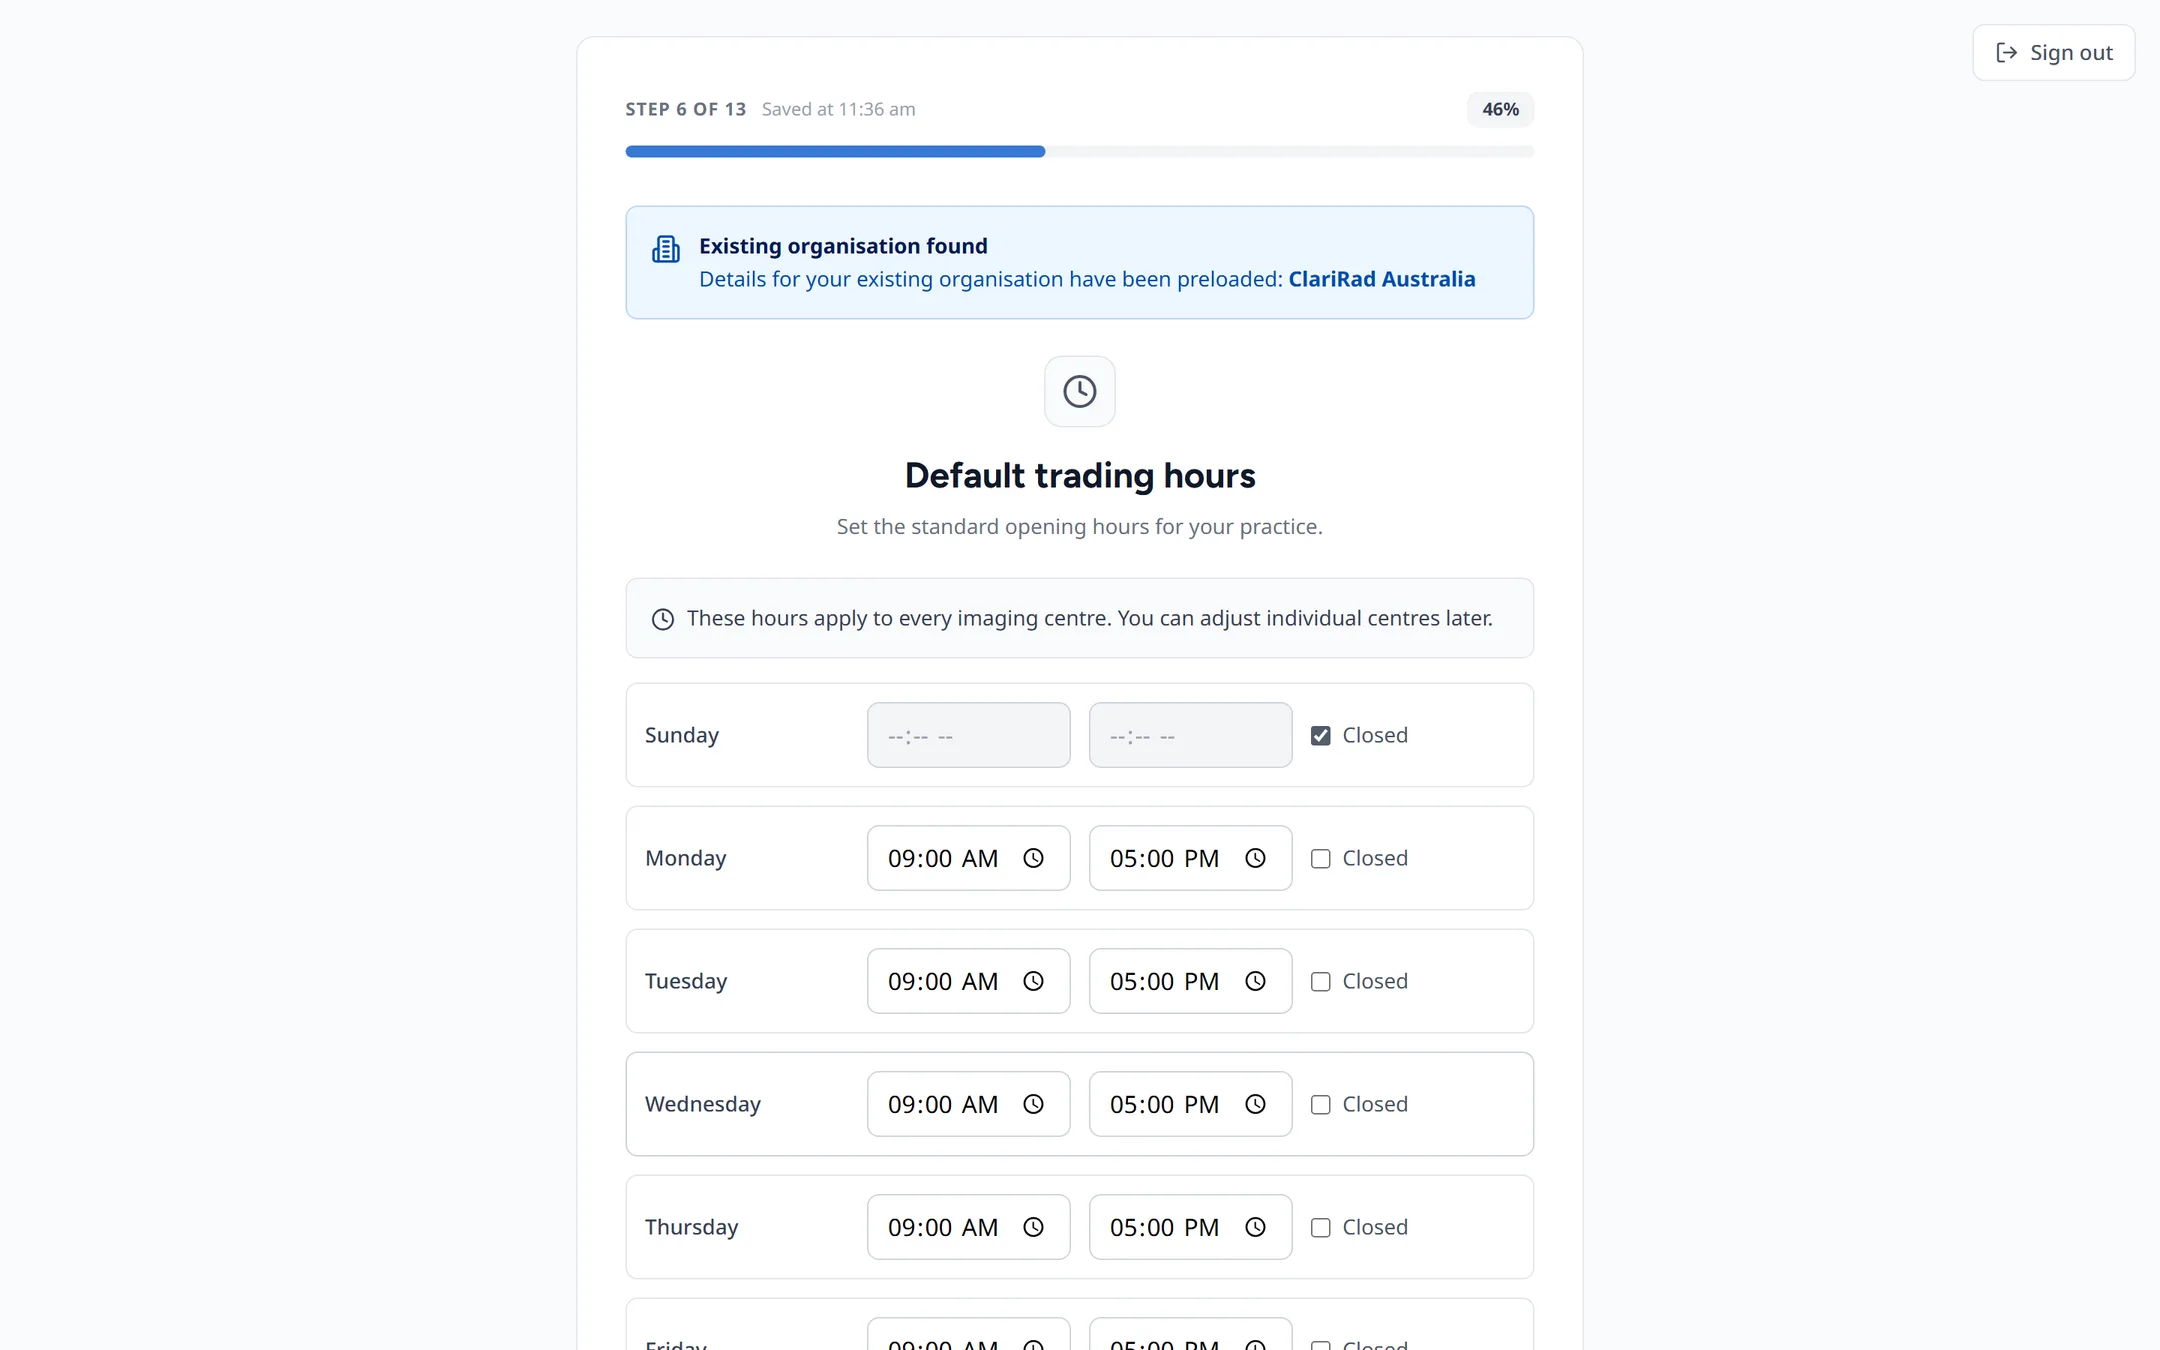
- Default trading hours: the hours your sites are normally open.
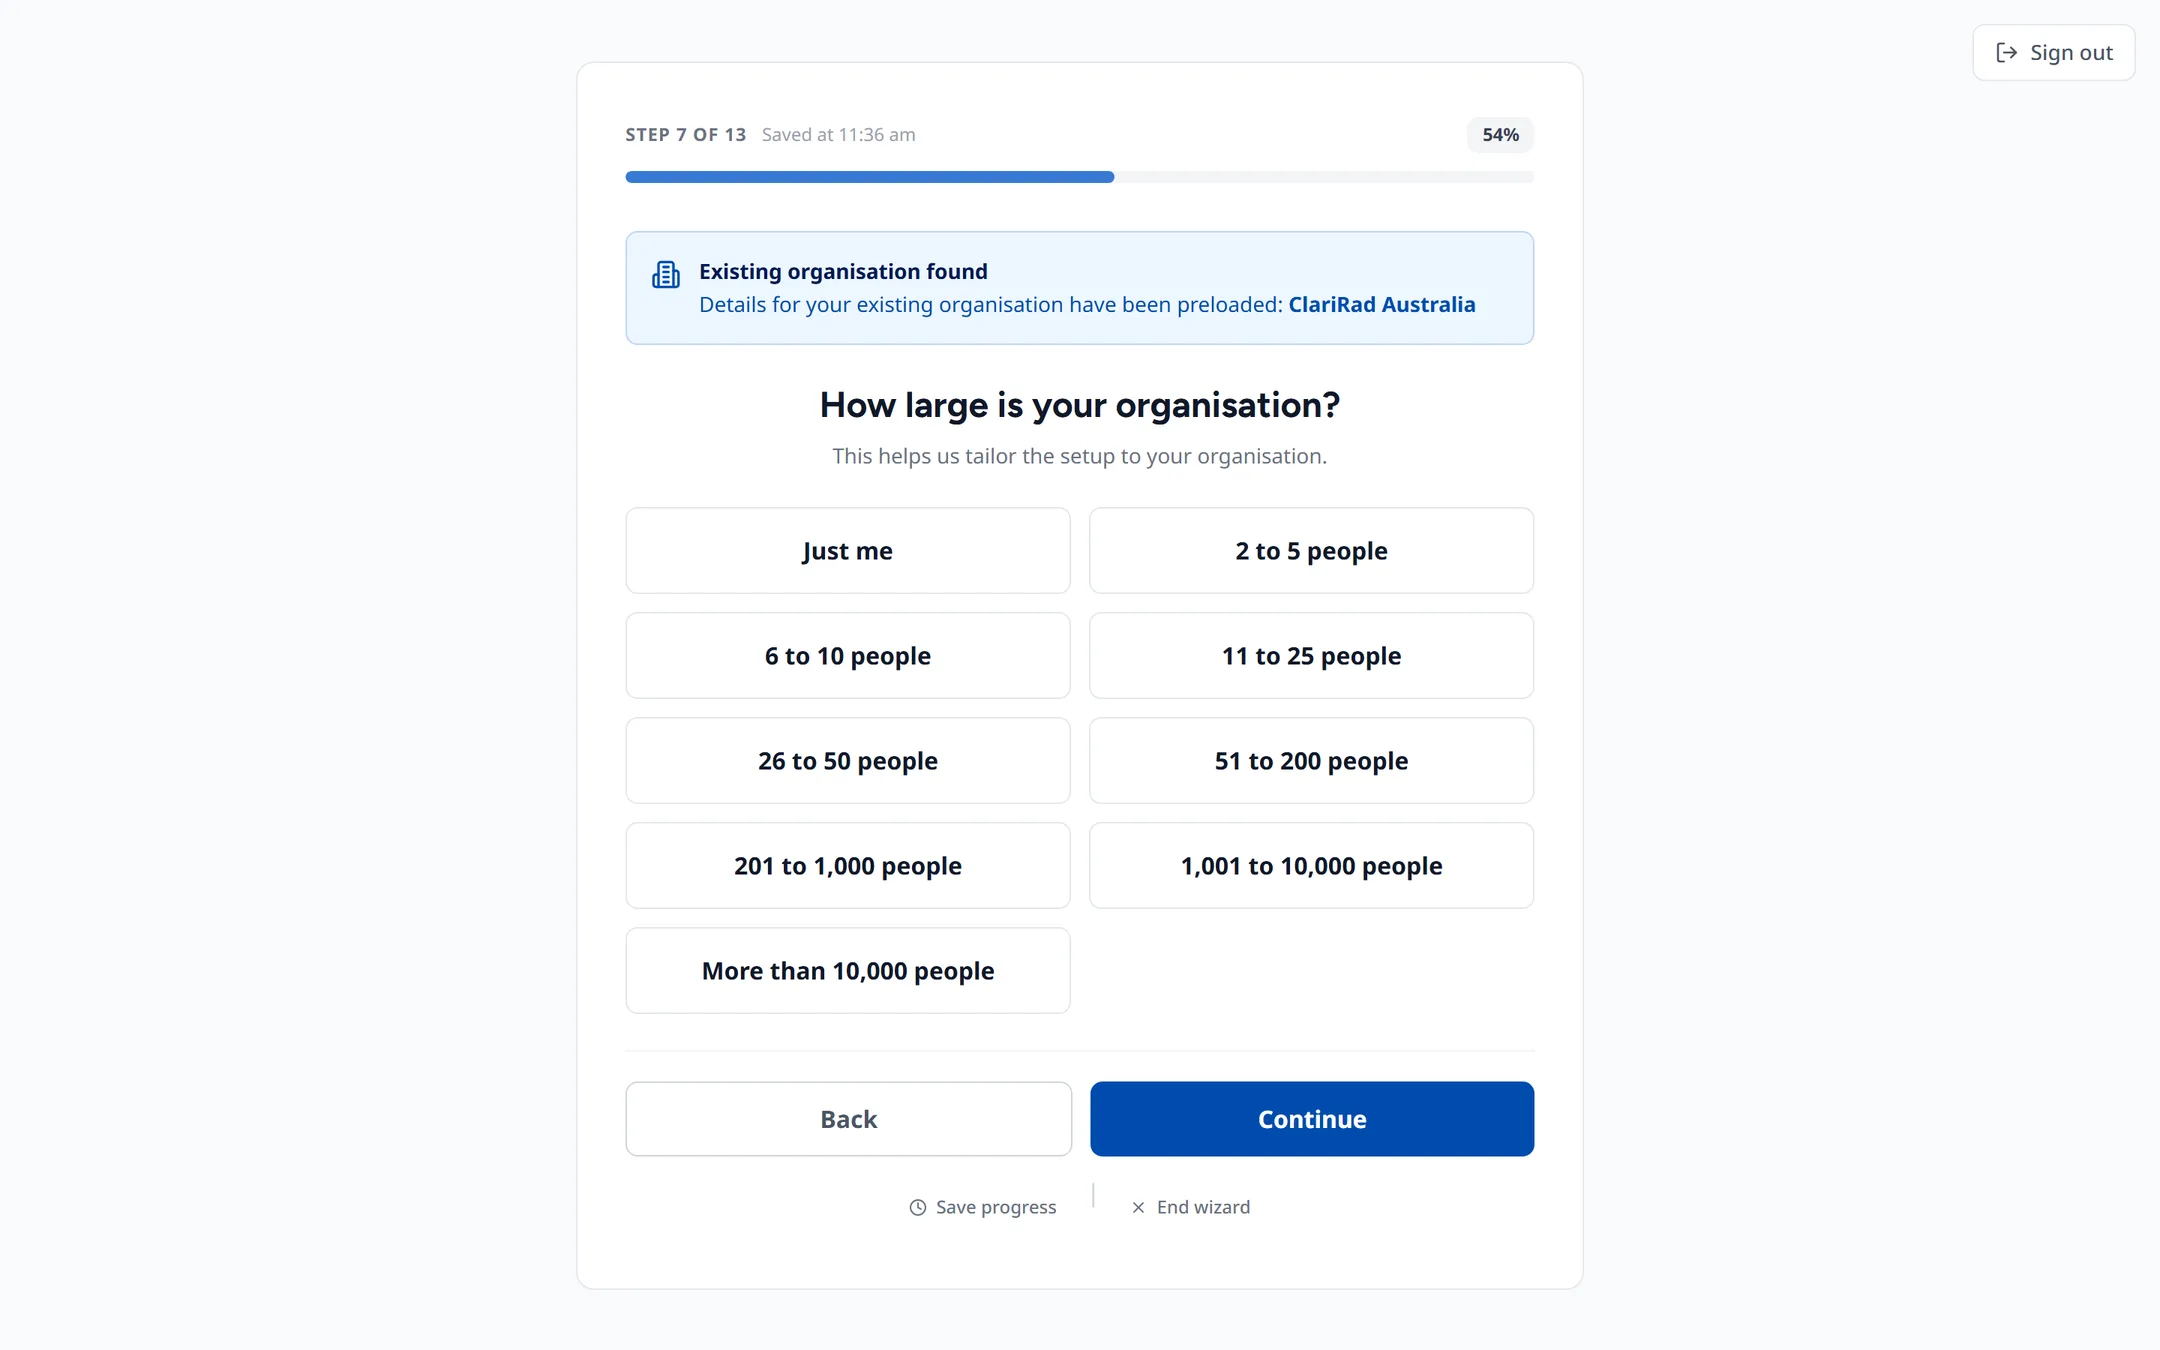
- How large your organisation is, and your practice website.
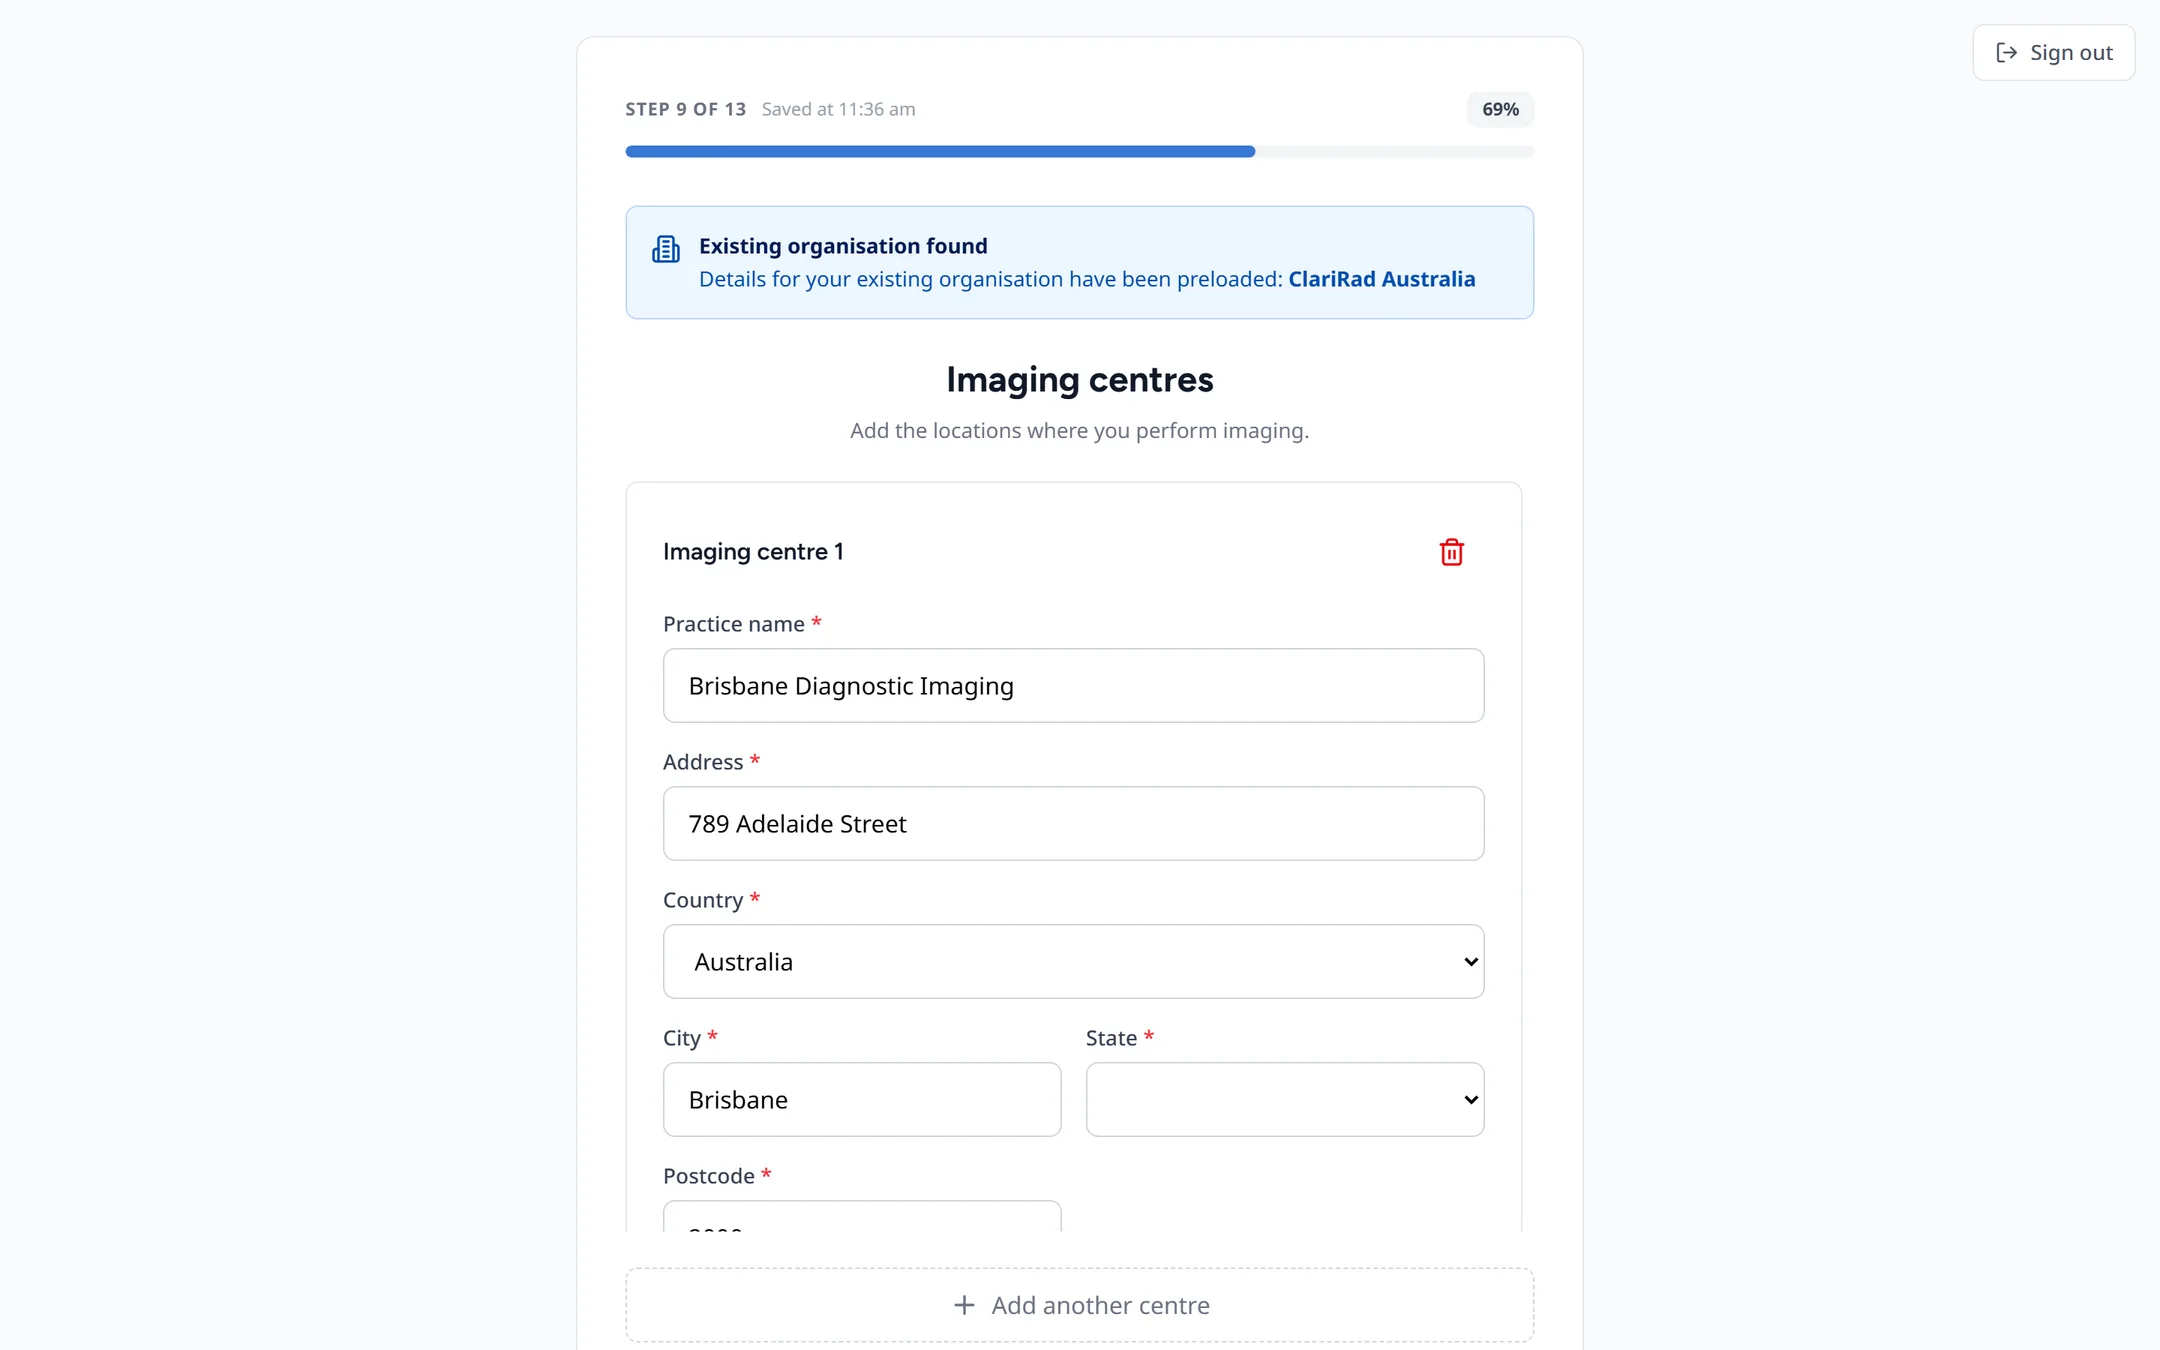
- Imaging centres: the sites where patients are scanned.
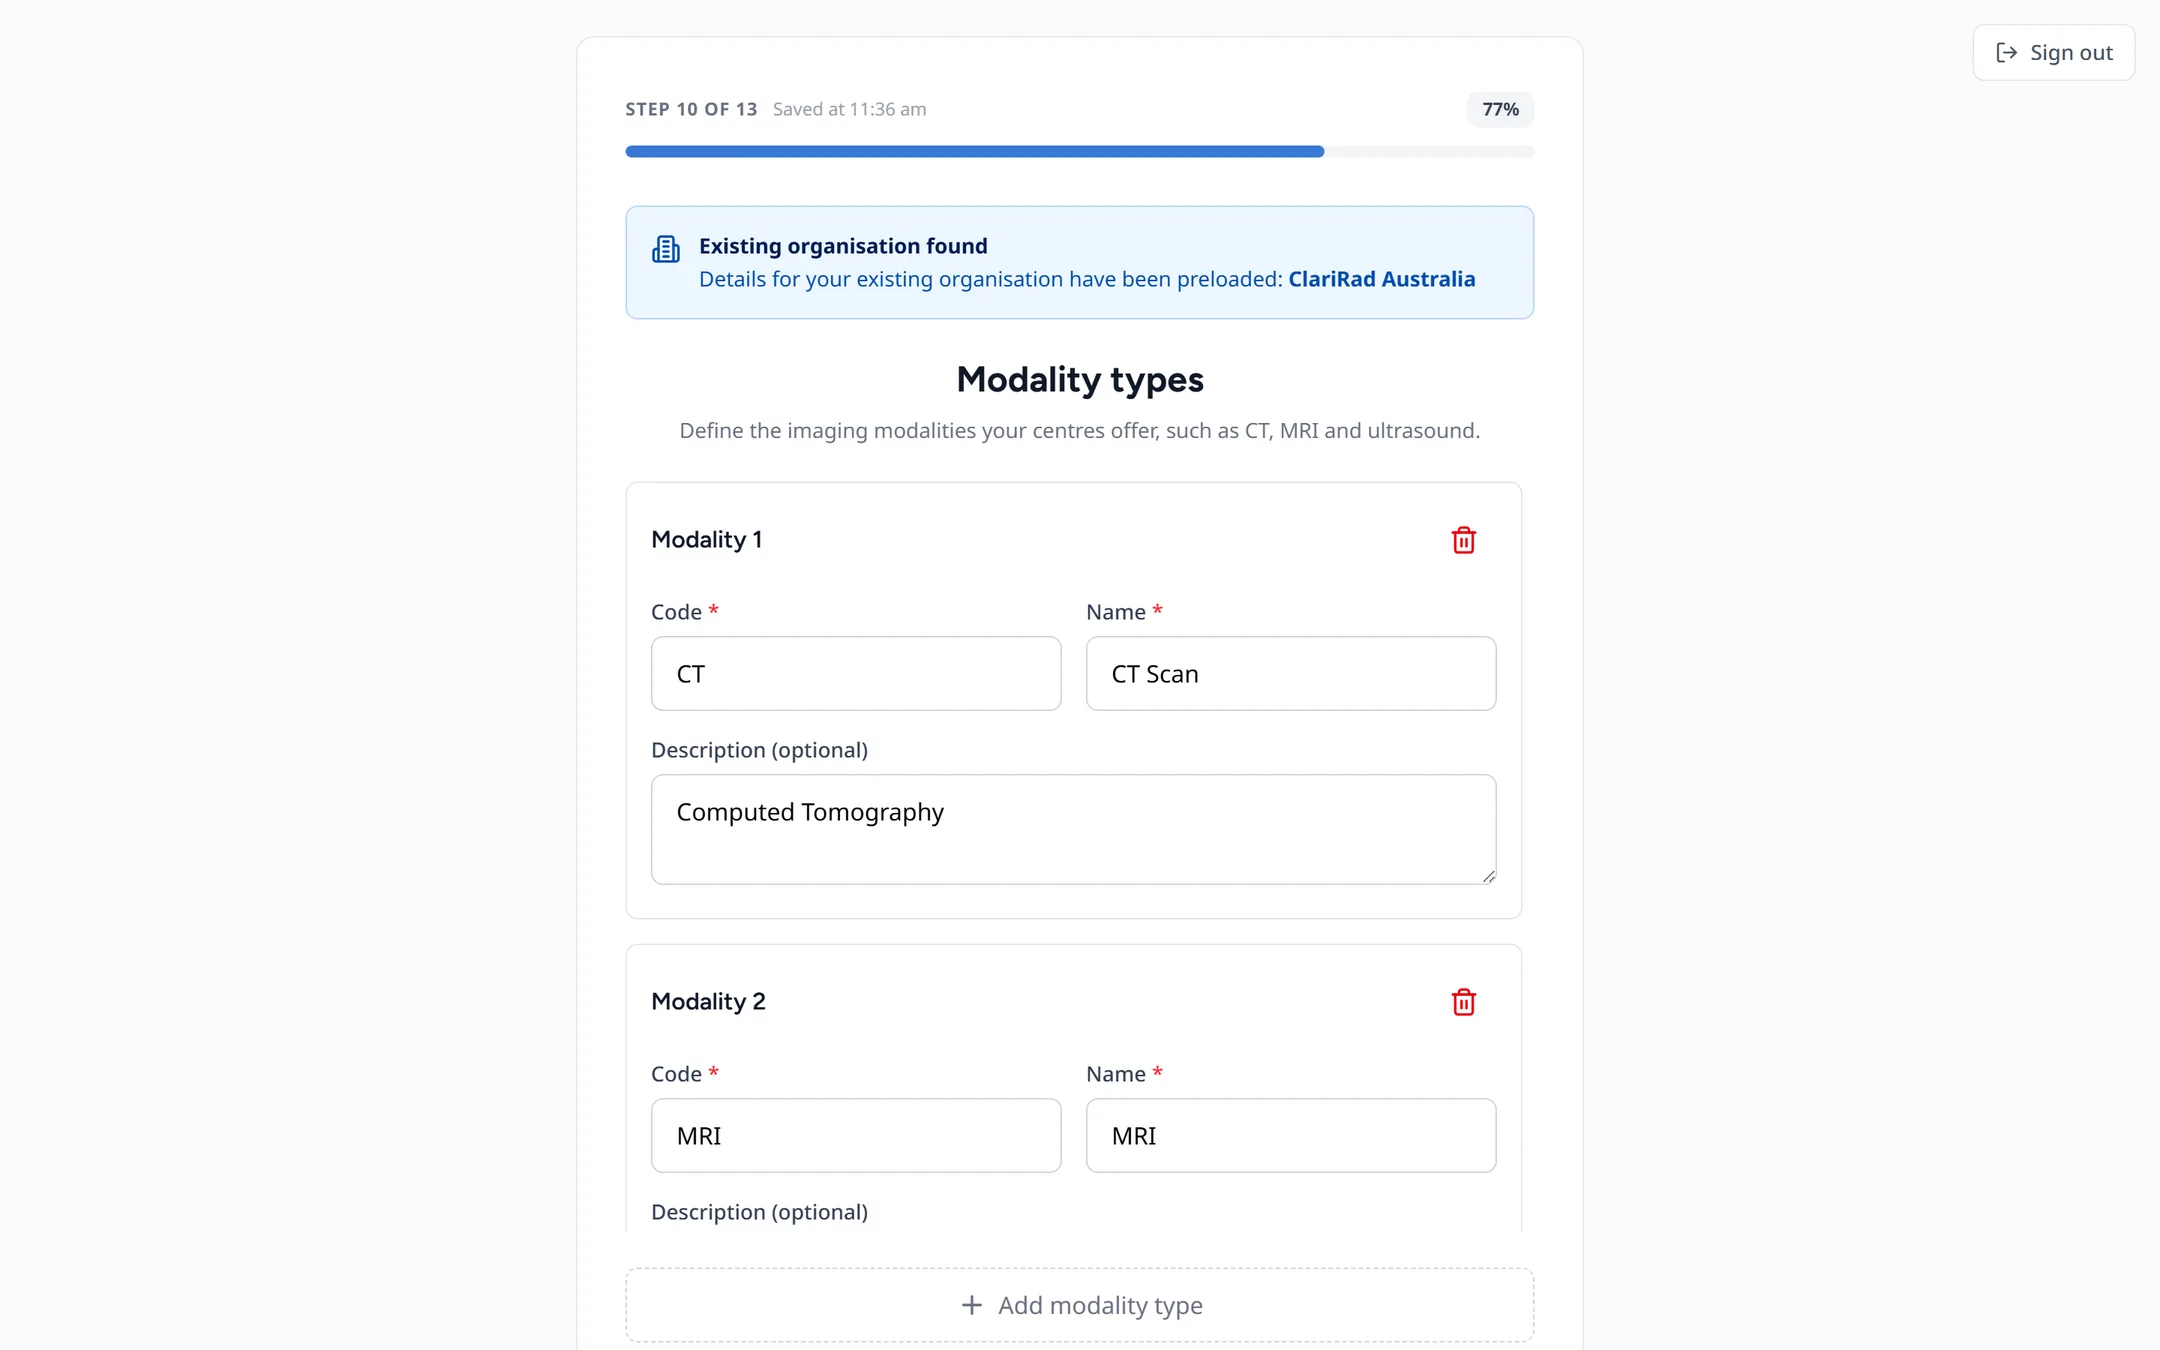
- Modality types: the kinds of equipment you have, such as CT or ultrasound.
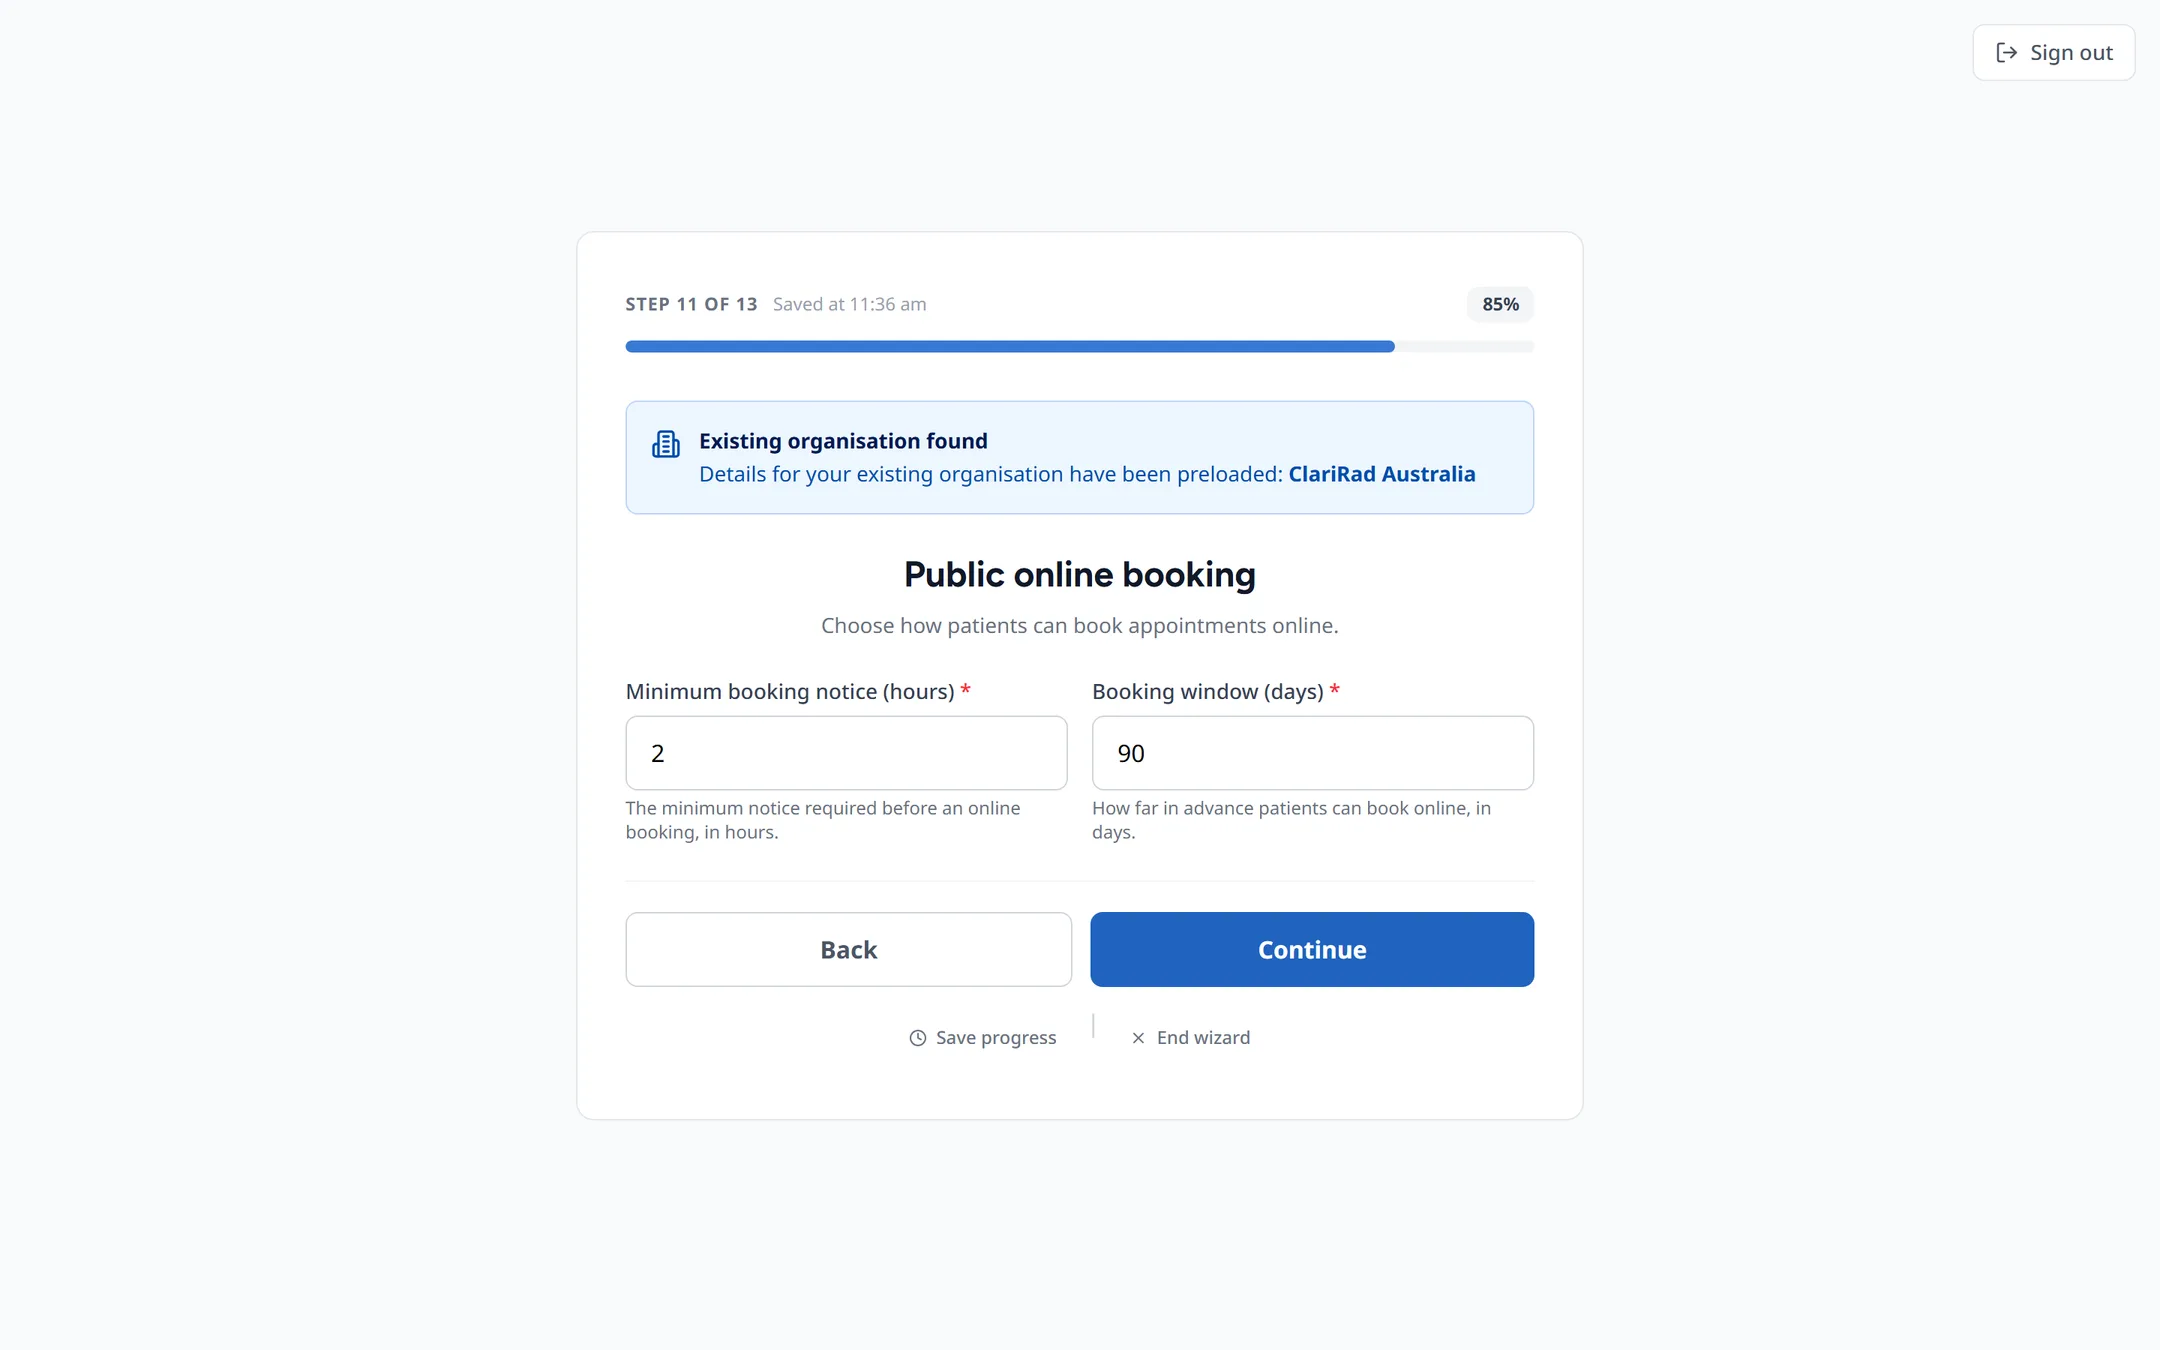
- Public online booking: the Minimum booking notice (hours) and Booking window (days).
- Invite your team, and choose the imaging centres each person works at.
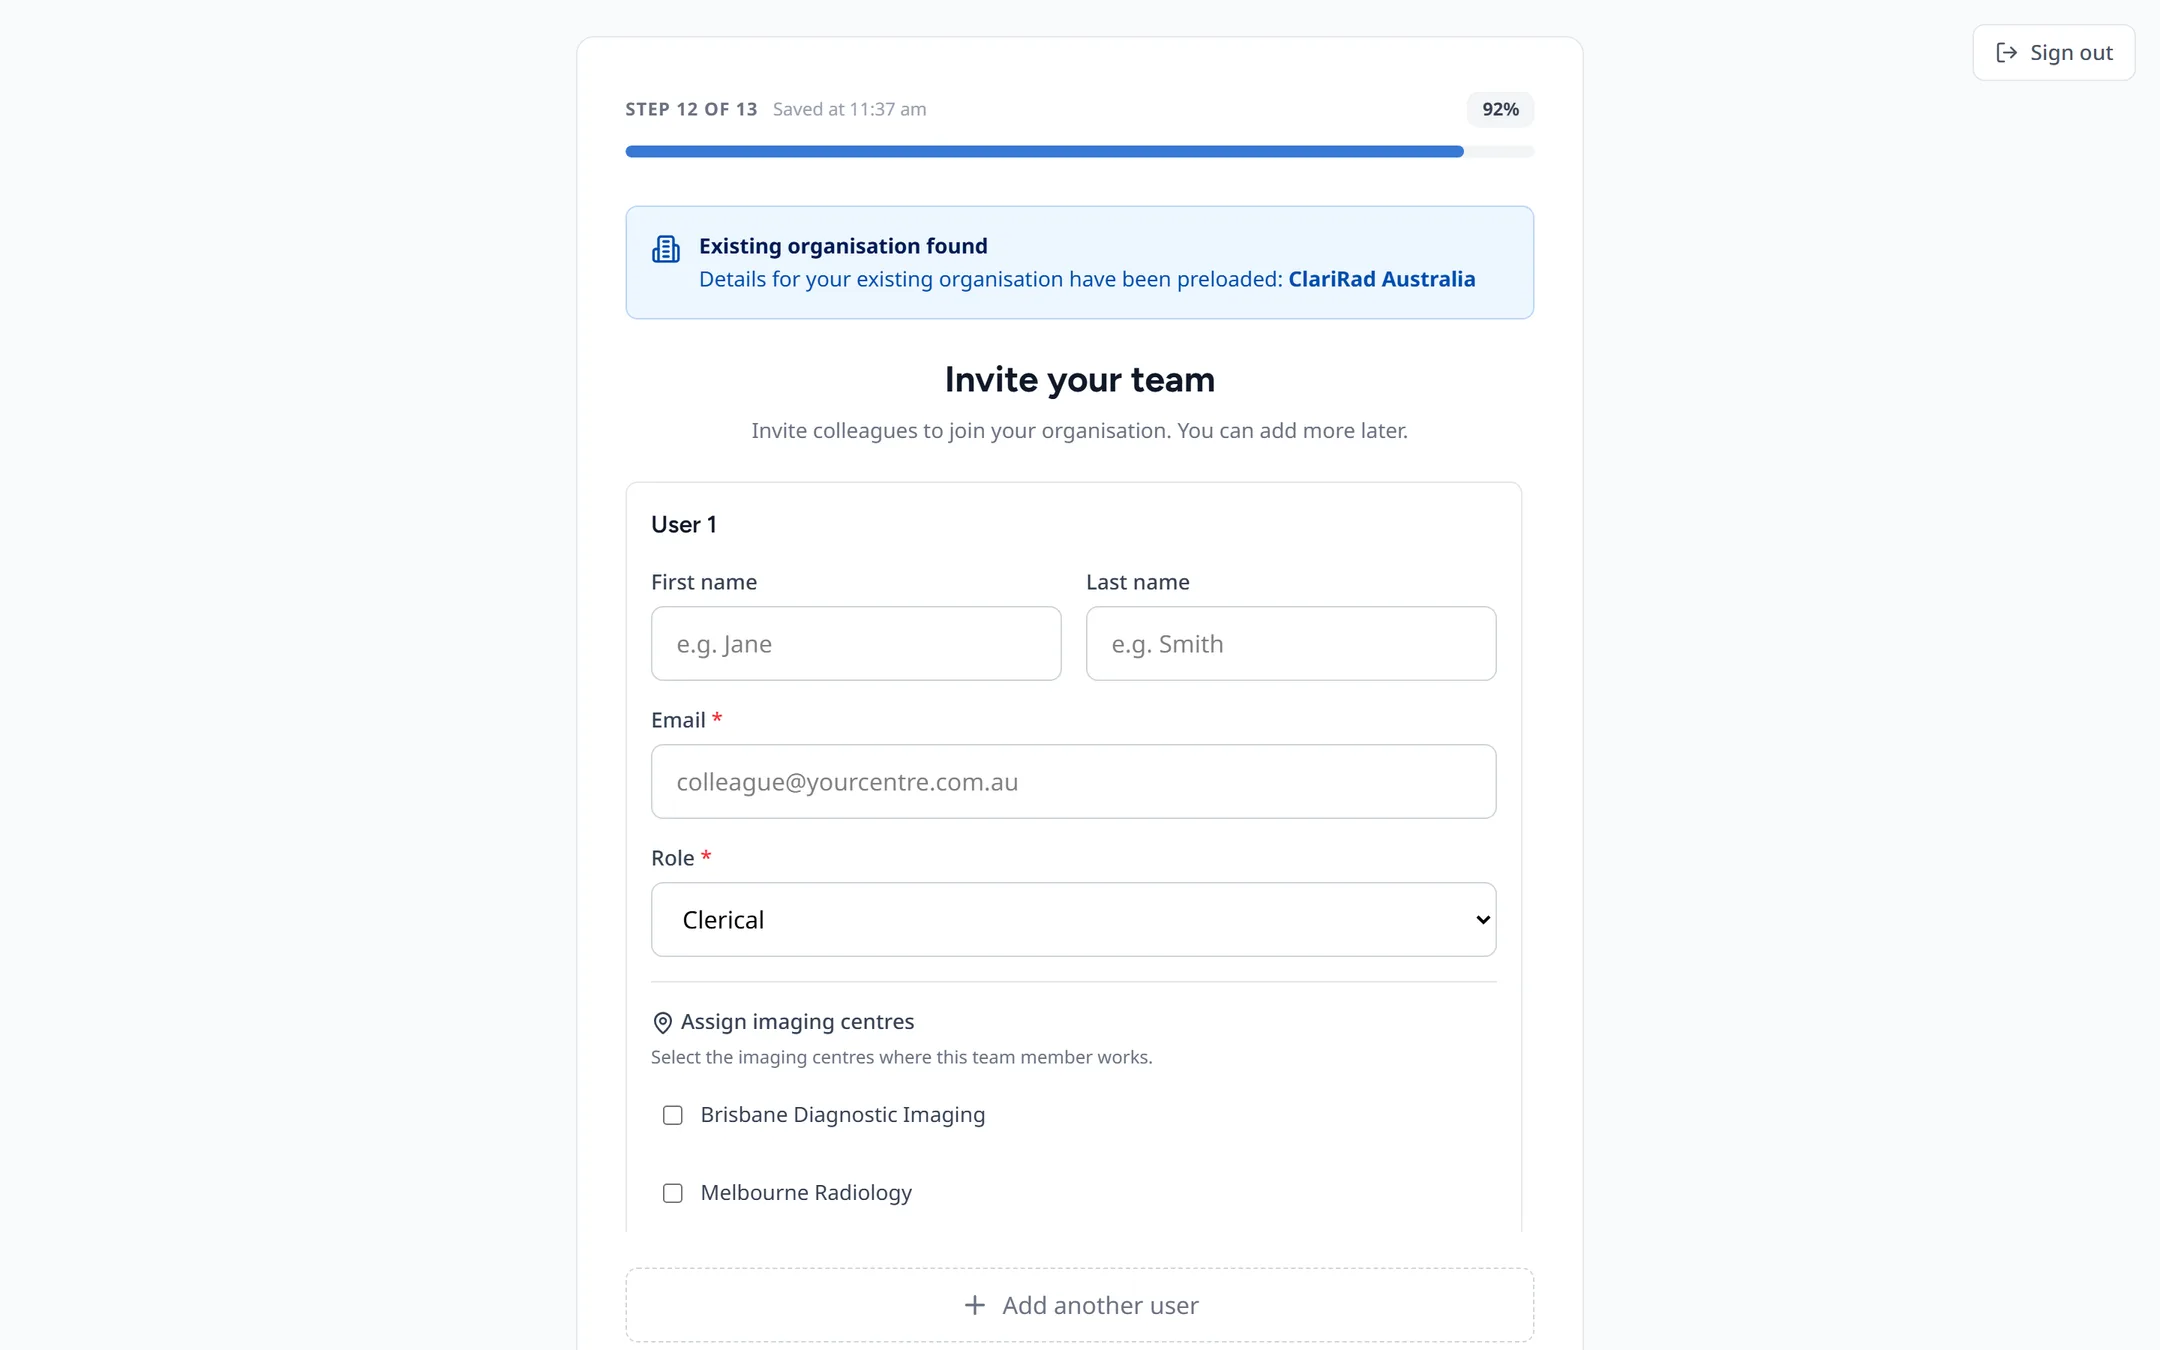
Press Create tenant to finish. You then see a welcome screen with Go to dashboard.
Moving through the wizard
- Continue and Back move between steps.
- Save progress keeps what you have entered so you can finish later.
- Exit setup wizard leaves without finishing.
If you leave with saved progress, Settings shows a Resume Setup Wizard card. Press it to pick up where you left off.
After the wizard
Before you start booking, check:
- each site has been through its site setup wizard: its rooms, services and prices, people and trading hours (a site can't be made active until nothing is missing);
- your staff have the right roles (see Staff users and roles);
- your services and prices are right in Settings, Clinical Services.